This easy yeast rolls recipe creates exceptionally soft, fluffy, and buttery homemade dinner rolls perfect for any meal. Using simple pantry staples like flour, yeast, milk, and butter, this beginner-friendly guide provides step-by-step instructions to bake perfect rolls from scratch, ensuring a delicious result every time.
Few things bring as much comfort to a meal as a basket of freshly baked, fluffy homemade yeast rolls. If you’ve ever dreamed of pulling warm bread from your oven but felt intimidated by the process, prepare to change your mind. This guide is designed to make perfect, easy yeast rolls a reality for every home cook, no matter your skill level. With the right guidance, anyone can master this rewarding kitchen skill.
We know that new recipes can sometimes feel overwhelming, but our simple guide makes it truly satisfying to create soft, golden rolls from scratch. This isn’t just another yeast rolls recipe. It’s a clear path designed to turn baking uncertainty into confident success, ensuring delicious results every time.
At Recipe-GPT, our mission is to make cooking easier and more personalized. While this recipe provides a fantastic foundation, we’ll also show you how AI can help customize it. You’ll be able to find quick ingredient substitutions, adjust serving sizes, and even get new flavor ideas, making your kitchen experience smoother than ever. Ready to bake the most delicious homemade yeast rolls? Let’s find out why this is the best recipe for beginners.
Why Is This the Best Homemade Yeast Rolls Recipe for Beginners?

Welcome to your new favorite homemade yeast rolls recipe! Baking with yeast can feel intimidating, but this guide makes it incredibly simple. We designed this easy yeast rolls recipe with beginners in mind, so you can confidently create light, fluffy rolls every single time.
This isn’t just any homemade rolls recipe. It’s truly the best dinner rolls recipe for beginners for several key reasons:
- Clear, Simple Steps: We break down each stage into easy-to-follow instructions. Forget confusing jargon—you’ll get straightforward guidance that builds your confidence with every step.
- Demystifying Yeast: Many people fear working with yeast. Our recipe explains exactly how to activate it, ensuring your dough rises beautifully. You’ll master this crucial step in no time.
- Proven Success: Our method guarantees delicious results. You’ll achieve soft, airy homemade rolls that taste like they came from a professional bakery, making the experience both rewarding and fun.
- AI-Powered Support: This is where Recipe-GPT shines. Our AI personalizes your baking journey. For example, need a quick substitution for milk? Recipe-GPT instantly suggests alternatives, removing common kitchen roadblocks.
Baking at home offers wonderful benefits, from reducing stress to boosting creativity [1]. Making your own homemade yeast rolls also gives you complete control over the ingredients. The result is fresh, warm bread without any unwanted preservatives.
Recipe-GPT makes this enjoyable process even easier. You can ask our AI to adjust serving sizes for a family dinner or a quick snack. It also provides creative flavor variations, so your yeast rolls recipe can always match your needs and mood.
Say goodbye to baking anxiety. With this recipe and Recipe-GPT, you’re on your way to becoming a confident baker. Get ready to impress everyone—including yourself—with perfect, fluffy homemade yeast rolls!
Your Step-by-Step Guide to Perfect Yeast Rolls
Ingredients for Fluffy Homemade Rolls
Crafting the best homemade yeast rolls starts with simple ingredients. This list ensures your rolls will be incredibly soft and delicious.
- All-Purpose Flour: The foundation of your rolls, providing structure.
- Active Dry Yeast: This is what makes your rolls rise and become fluffy.
- Granulated Sugar: Adds a touch of sweetness and essential food for the yeast.
- Warm Milk: Activates the yeast and adds richness to the dough. Aim for 105-115°F (40-46°C) for best results [2].
- Unsalted Butter, Melted: For a tender texture and rich flavor.
- Egg: Adds richness and color while helping to bind the dough.
- Salt: Enhances flavor and controls yeast activity.
Missing something? Our AI-powered Recipe-GPT can suggest substitutions. It can also help you quickly adjust ingredients for dietary needs—just ask for gluten-free flour options or dairy-free milk alternatives!
Essential Equipment
You don’t need a professional kitchen to make perfect yeast rolls, as you likely have most of these items already. Having the right tools simply makes the process smoother and more enjoyable.
- Large Mixing Bowl: For combining ingredients and allowing the dough to rise.
- Measuring Cups and Spoons: Accuracy is key in baking.
- Liquid Measuring Cup: For liquids like milk.
- Stand Mixer with Dough Hook (Optional): Makes kneading much easier, but hand kneading works wonderfully too.
- Plastic Wrap or Clean Kitchen Towel: To cover the dough as it rises.
- 9×13 Inch Baking Dish: Or a similarly sized dish to bake your rolls.
- Pastry Brush (Optional): For brushing the rolls with melted butter after baking.
If you’re unsure how to use a specific tool, Recipe-GPT can offer quick guidance, helping you feel confident with any recipe.
Step 1: Activating the Yeast
This simple but crucial first step ensures your yeast is alive and ready to make your rolls light and airy.
- Warm the Milk: Gently heat your milk until it is warm to the touch, not hot. A temperature between 105-115°F (40-46°C) is ideal. Use a thermometer for accuracy if you have one.
- Combine Ingredients: Pour the warm milk into your large mixing bowl, then add the granulated sugar and active dry yeast.
- Let it Bloom: Stir gently, then let the mixture sit for 5-10 minutes. A foamy layer on top indicates your yeast is active and ready to go.
If your yeast doesn’t foam, it might be old or the milk was the wrong temperature. Don’t worry—Recipe-GPT can help you troubleshoot the issue or suggest a new approach.
Step 2: Mixing and Kneading the Dough
Now it’s time to bring your ingredients together into a smooth, elastic dough. This step is vital for creating soft, chewy rolls.
- Add Wet Ingredients: To the activated yeast mixture, add the melted butter, egg, and salt. Stir well to combine.
- Gradually Add Flour: Begin adding the flour, about one cup at a time, mixing with a wooden spoon until a shaggy dough forms.
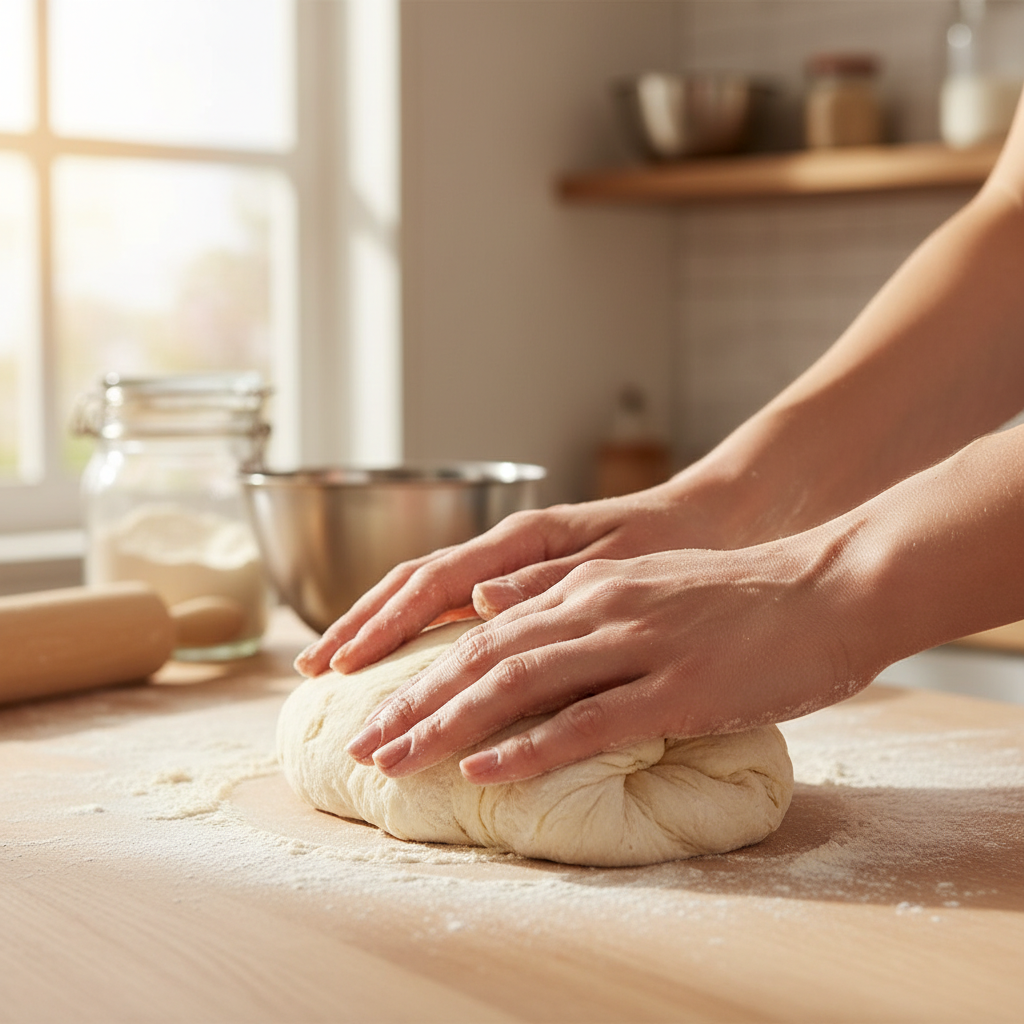
- Knead the Dough:
- By Hand: Turn the dough out onto a lightly floured surface. Knead for 8-10 minutes by pushing the dough away with the heels of your hands, then folding it back over.
- With a Stand Mixer: Attach the dough hook and mix on low speed for 6-8 minutes. The dough should gather around the hook, pulling away from the sides of the bowl.
- Check for Smoothness: The dough is ready when it becomes smooth, elastic, and slightly tacky, but not overly sticky.
For tips on perfect kneading or variations like no-knead bread, just ask Recipe-GPT.
Step 3: The First Rise
This stage, also known as proofing, is where the yeast works its magic. It not only develops your rolls’ signature light texture but also adds flavor to the dough.
- Prepare the Bowl: Lightly grease your mixing bowl with a little oil or cooking spray.
- Place the Dough: Transfer the kneaded dough into the greased bowl and turn it once to coat all sides with oil.
- Cover and Rise: Cover the bowl tightly with plastic wrap or a clean kitchen towel.
- Find a Warm Spot: Place the bowl in a warm, draft-free area. A slightly warm oven (turned off, with just the light on) is an ideal spot.
- Let it Double: Allow the dough to rise for 1 to 1.5 hours, or until it has doubled in size.
This step is where patience pays off. If you’re short on time, Recipe-GPT can provide instant reminders or suggest quicker rising methods.
Step 4: Shaping the Rolls
Once your dough has completed its first rise, it’s time to shape it into individual rolls. This part of the process is fun and easy.
- Punch Down Dough: Gently punch down the risen dough to release the air.
- Divide the Dough: Turn the dough out onto a lightly floured surface and divide it into 12-16 equal pieces. For the most uniform rolls, use a kitchen scale.
- Shape Each Piece:
- Take one piece of dough.
- Gently pull the edges underneath to form a smooth ball.
- Roll it between your palm and the countertop in a circular motion to create tension on the surface.
- Arrange in Pan: Place the shaped rolls into your greased 9×13 inch baking dish, leaving a small space between each one.
To add a personalized touch to your meal, ask Recipe-GPT for alternative shapes, like knots or crescent rolls. It’s an easy way to explore new ideas.
Step 5: The Second Rise
This second rise is shorter but equally important for achieving that perfect, light, and fluffy texture after baking.
- Cover Again: Loosely cover the baking dish with plastic wrap or a clean kitchen towel.
- Warm Spot: Return the dish to a warm, draft-free place for its second rise.
- Second Proof: Let the rolls rise for another 30-45 minutes, until they have puffed up, look visibly plumper, and have nearly doubled in size again.
- Preheat Oven: During the last 15 minutes of this rise, preheat your oven to 375°F (190°C).
The second rise ensures maximum airiness. Recipe-GPT’s intuitive guidance can help you master these steps effortlessly.
Step 6: Baking to Golden Perfection
The moment of truth! Baking transforms your risen dough into beautiful, golden-brown yeast rolls. The aroma will fill your kitchen.
- Bake the Rolls: Place the baking dish into the preheated oven.
- Baking Time: Bake for 18-22 minutes.
- Check for Doneness: The rolls are ready when they are golden brown on top and sound hollow when tapped. For certainty, an instant-read thermometer inserted into the center should read 200-210°F (93-99°C) [3].
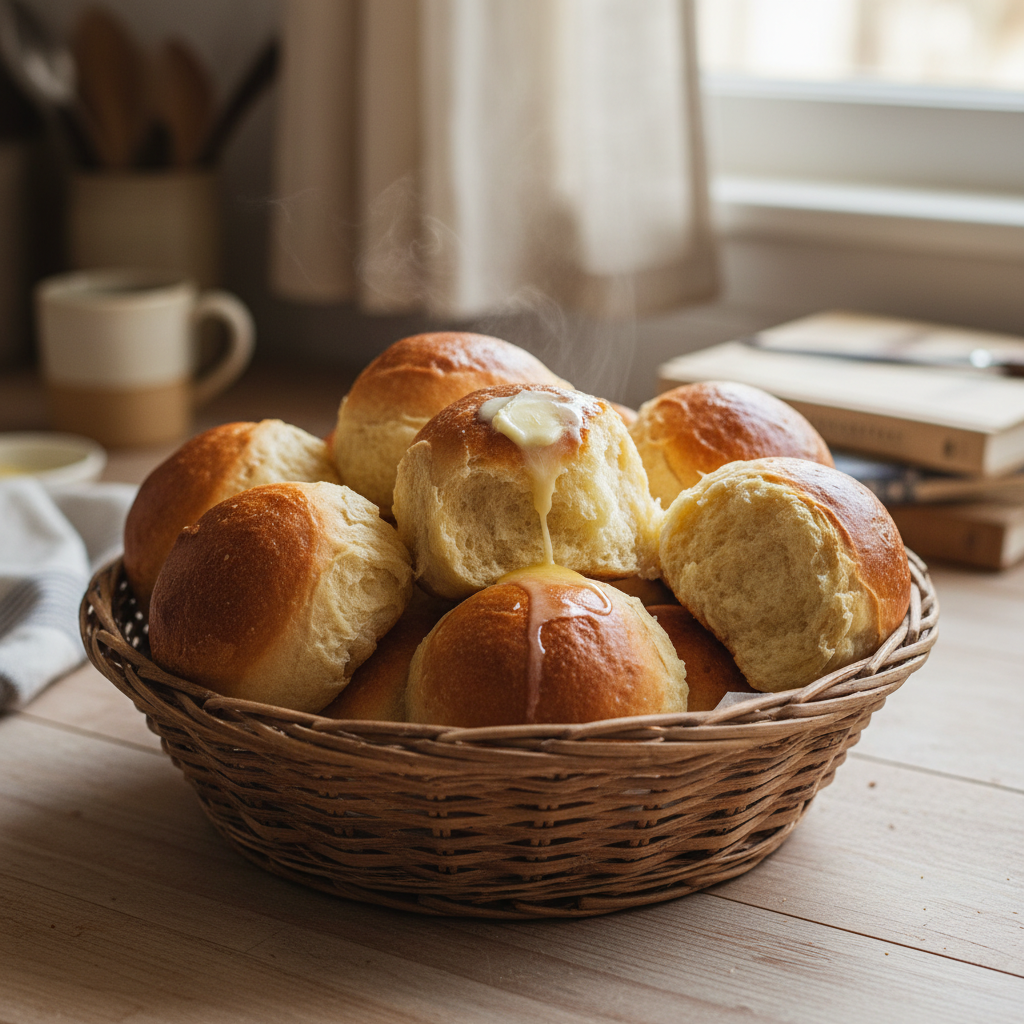
- Optional Butter Glaze: For extra shine and flavor, immediately brush the hot rolls with melted butter when they come out of the oven.
- Cool and Serve: Let the rolls cool in the pan for a few minutes before serving them warm.
Enjoy your homemade yeast rolls! For the perfect meal to accompany them, ask Recipe-GPT for personalized suggestions based on your preferences.
How Can AI Personalize Your Dinner Roll Recipe?
Find Ingredient Substitutions in Seconds
Missing an ingredient for your homemade rolls? No problem. Recipe-GPT comes to the rescue. Our AI-powered tool instantly suggests smart substitutions, so you can keep baking without a trip to the store.
Imagine you’re out of milk for your yeast rolls. Recipe-GPT might suggest alternatives like:
- Water with a little butter.
- Almond milk or soy milk.
- Buttermilk for a tangy twist.
These quick solutions save you time and hassle. They also help prevent food waste by letting you use ingredients you already have. This makes baking your easy yeast rolls so much simpler.
Instantly Adjust Serving Sizes
Planning a small dinner or a big family gathering? Recipe-GPT makes scaling your homemade rolls recipe effortless. Skip the complex math—our AI automatically adjusts all ingredient quantities for you.
Whether you need a few rolls or dozens, Recipe-GPT handles it. This feature is incredibly helpful for busy families because it ensures you have the perfect amount every time, preventing waste or running short. For instance, you can easily scale our best dinner rolls recipe for:
- A cozy dinner for two.
- A potluck with friends.
- A large holiday feast.
This instant adjustment gives you confidence in the kitchen.
Get Creative Flavor Variation Ideas
Ready to explore beyond the classic dinner roll? Recipe-GPT is your creative partner. Our AI generates unique flavor variations tailored to your tastes, bringing new life to your yeast rolls recipe.
Whether you want your homemade yeast rolls to be sweet or savory, just tell Recipe-GPT your preferences. It will offer exciting ideas. For example, consider these delicious twists:
- Herby Garlic Rolls: Add minced garlic and fresh rosemary to the dough. Brush with garlic butter after baking.
- Cheddar and Chive Rolls: Fold in shredded cheddar cheese and fresh chives. These are perfect with soup.
- Sweet Cinnamon Rolls: Swirl in a cinnamon-sugar filling before the second rise. Top with a simple glaze.
- Everything Bagel Rolls: Sprinkle the tops with “everything bagel” seasoning. This adds a savory crunch.
This personalization helps you discover new favorites and transform simple rolls into a special treat. Recipe-GPT makes cooking fun and inspiring.
Top Tips for Soft, Fluffy Rolls Every Time
Crafting light, airy rolls is a satisfying kitchen achievement. With just a few key techniques, you can ensure your homemade yeast rolls are perfectly soft and fluffy every time. Think of these tips as your secret ingredients for success!
Recipe-GPT can help you master these elements. Our AI can guide you, suggest ideal temperatures, and even offer ingredient swaps to suit your pantry.
Essential Techniques for Perfect Rolls
- Measure Precisely: Baking is science, especially with yeast. Use a kitchen scale for flour if possible [4]. This ensures consistent results. Too much flour makes rolls dense, not fluffy.
- Master Yeast Activation: Warm water (around 105-115°F or 40-46°C) wakes up your yeast. Too hot, and you’ll kill it; too cold, and it won’t activate. Recipe-GPT can provide precise temperature guidance for your recipe.
- Knead for Gluten Development: Proper kneading builds the gluten structure. This creates that wonderful chewy-yet-tender texture. Knead until the dough is smooth and elastic. It should spring back when gently poked.
- Allow for a Full First Rise: Give your dough time to double in size in a warm, draft-free spot. This crucial step develops flavor and texture. A slow, steady rise is key.
- Don’t Skip the Second Rise: After shaping your rolls, let them rise again. This second rise, also known as proofing, is what makes them incredibly light and airy.
- Avoid Overbaking: Bake until golden brown, but resist the urge to bake longer. Overbaked rolls become dry and tough. A thermometer should read around 190-200°F (88-93°C) in the center for doneness.
- Add Fat for Tenderness: Ingredients like butter, oil, or egg yolks add richness and keep your rolls soft. They help create a tender bite by relaxing the gluten structure.
- Consider Milk for Softness: Using milk instead of water in your dough creates a richer, softer roll. The milk sugars also help with browning. Recipe-GPT can easily suggest dairy-free alternatives if needed.
- Brush with Butter (Optional, but Recommended!): Immediately after baking, brush the hot rolls with melted butter. This adds flavor, shine, and keeps the crust soft.
With Recipe-GPT, you can get personalized baking instructions in seconds. Our AI helps you adapt any yeast roll recipe—just share your preferences, and it will generate the perfect steps. This makes creating delicious homemade rolls simple and stress-free.
Frequently Asked Questions
How do you make yeast rolls from scratch without milk?
Absolutely! You can easily make delicious yeast rolls without using milk. Many successful recipes use water as the primary liquid. This is a perfect option if you have a dairy allergy or simply prefer not to use milk.
Recipe-GPT can help you find suitable substitutions instantly. Just ask for a “dairy-free yeast roll recipe,” and our AI will adapt the instructions. It can also suggest alternatives based on what you have in your pantry.
Here are some great milk alternatives for your homemade rolls:
- Water: This is the simplest substitute. Use the same quantity as milk. Your rolls will have a slightly chewier texture and a less rich flavor.
- Plant-Based Milks: Almond milk, soy milk, or oat milk work well. Opt for unsweetened varieties to maintain the savory balance. These options add a richness and softness to the dough, much like dairy milk.
- Coconut Milk (Light): Use light coconut milk for a subtle richness. Be aware that it might impart a faint coconut flavor.
These simple swaps ensure your homemade rolls are still incredibly tasty and fluffy. Recipe-GPT makes adapting recipes like this straightforward and quick.
Can I make easy yeast rolls for beginners with no mixer?
Yes, you absolutely can! Making yeast rolls by hand is a classic method and a great way for beginners to get a feel for the dough. You don’t need any fancy equipment for amazing results.
Kneading by hand builds arm strength and helps you understand dough development. It ensures your easy yeast rolls come out soft and airy. In fact, many experienced bakers prefer the tactile experience of hand kneading.
Here’s how easy it is:
- Mix your ingredients in a large bowl with a wooden spoon.
- Once a shaggy dough forms, turn it out onto a lightly floured surface.
- Knead by pushing the dough away with the heels of your hands, then fold it back towards you.
- Repeat this motion for about 8-10 minutes, until the dough becomes smooth and elastic.
Recipe-GPT can provide step-by-step instructions tailored for hand kneading. Our AI-powered guidance ensures you gain confidence in the kitchen and simplifies the process, even without a mixer.
What’s the difference between active dry and instant yeast?
Understanding yeast types is key to successful baking. Both active dry and instant yeast are common, and they perform the same function: making your dough rise. However, they differ in how you use them.
Recipe-GPT can adjust recipes for whichever type of yeast you have on hand. It helps you avoid confusion and ensures your homemade rolls turn out perfectly.
Here’s a quick breakdown:
- Active Dry Yeast: This yeast typically needs to be “activated” first. You dissolve it in warm liquid (usually water or milk) with a pinch of sugar. This process, called proofing, confirms the yeast is alive and takes about 5-10 minutes. You will see foam form if it’s active [5].
- Instant Yeast: This yeast has finer granules and doesn’t require proofing. You can mix it directly into your dry ingredients. It also tends to make dough rise a bit faster than active dry yeast.
You can often substitute one for the other. You’ll use slightly less instant yeast than active dry. For instance, if a recipe calls for 2 ¾ teaspoons of active dry yeast, you would use 2 ¼ teaspoons of instant yeast instead. Recipe-GPT can automatically handle these conversions for you, making your baking decisions much easier.
How should I store homemade rolls to keep them fresh?
Proper storage is key to keeping your homemade yeast rolls soft and fresh for as long as possible.
Recipe-GPT can provide personalized storage tips with every recipe. This ensures you get the most out of your kitchen creations.
Follow these simple steps for optimal freshness:
- Room Temperature (1-2 days): Once completely cooled, place your rolls in an airtight container or a resealable plastic bag. This prevents them from drying out. Store them on your countertop.
- Refrigeration (Up to 1 week): If you need to store them longer, move them to the refrigerator. While this extends their life, refrigeration can sometimes dry out bread, so make sure they are in an airtight container.
- Freezing (Up to 3 months): For longer storage, freeze your rolls. Wrap each roll individually in plastic wrap, then place them in a freezer-safe bag. Thaw them at room temperature before reheating.
To reheat, wrap rolls in foil and bake at 300°F (150°C) for 10-15 minutes, or microwave them briefly. This will bring back their wonderful softness. Recipe-GPT offers practical advice like this, making meal planning and food preservation effortless.
Sources
- https://sfyl.ifas.ufl.edu/archive/hot-topics/hot-topics-health/the-benefits-of-baking/
- https://redstaryeast.com/yeast-baking-lessons/yeast-science/yeast-temperature-and-liquids/
- https://www.kingarthurbaking.com/blog/2016/08/17/yeast-dough-temperatures
- https://www.kingarthurbaking.com/blog/2015/05/20/weighing-vs-measuring
- https://redstaryeast.com/yeast-baking-lessons/yeast-tips-tricks/proof-yeast/
Leave a Reply