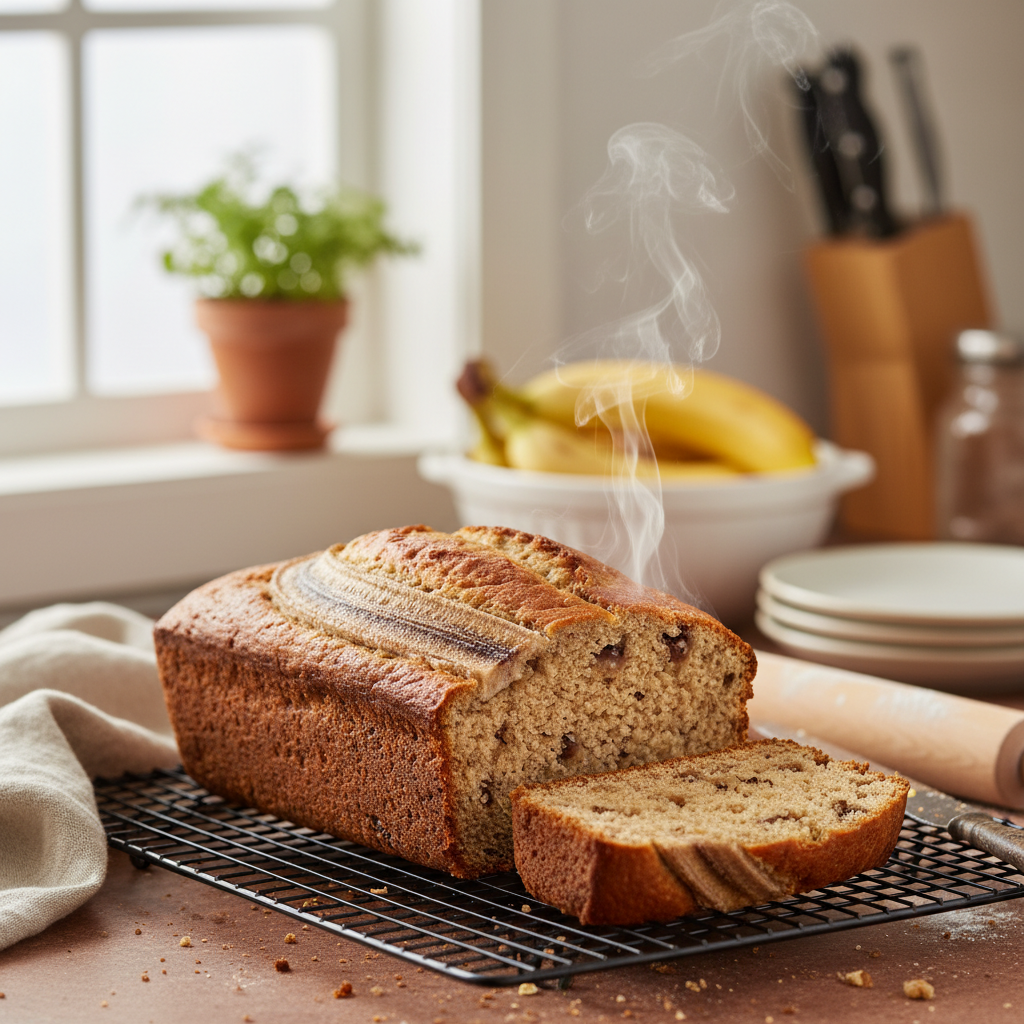
The easiest bread recipe for beginners typically involves four basic ingredients: flour, water, yeast, and salt. This simple, often no-knead, method requires mixing the ingredients, allowing the dough to rise until doubled in size, shaping it into a loaf, and baking it in a preheated oven. The result is a delicious homemade bread with a crispy crust and a soft, airy interior.
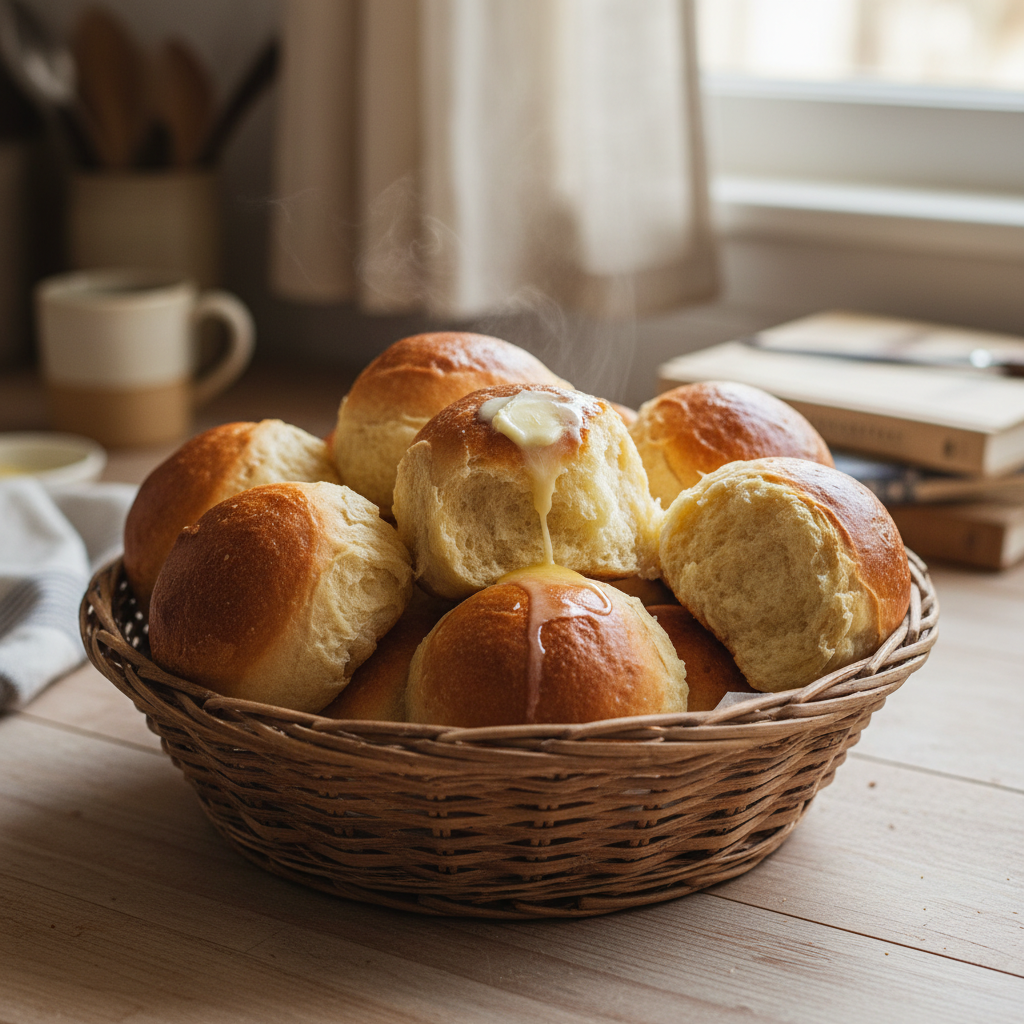
Imagine the comforting aroma of freshly baked bread filling your kitchen. Picture a warm, soft loaf, ready to be sliced. For many, the idea of baking bread from scratch feels intimidating—a complex culinary challenge reserved for experienced bakers. But what if we told you that making delicious homemade bread could be incredibly simple, even for a complete beginner?
This article is your friendly guide to an easy bread recipe that requires minimal effort for maximum satisfaction. We know that deciding what to bake can feel overwhelming, which is why Recipe-GPT is here to be your smart assistant, simplifying every step. Forget complicated techniques. With a little help from AI, you’ll discover how accessible and rewarding baking your own yeast bread recipes can be as you turn fresh ingredients into a perfect loaf.
Get ready to transform basic ingredients into a wonderfully fragrant and perfectly textured homemade bread. We’ll walk you through every step of this truly simple recipe, from activating the yeast to pulling a golden-brown loaf from the oven. You’ll also learn essential tips and how to customize your bake with AI-powered ideas. Let’s banish baking anxiety and embrace the joy of creating the easiest homemade bread you’ve ever imagined!
Why is This the Easiest Bread Recipe for Beginners?
Meet Your AI Baking Assistant
Baking bread can feel intimidating, but Recipe-GPT is your personal AI baking assistant. It simplifies the process for beginners, and we designed this easy bread recipe just for you.
Our AI-powered platform helps you quickly find recipes and adjusts them to your needs. That means less guesswork and more delicious homemade bread, making your baking experience simple and enjoyable.
- Instant Ideas: Get personalized recipe suggestions in moments.
- Ingredient Check: Discover options based on what you have.
- Smart Substitutions: Our AI offers helpful ingredient swaps, perfect for dietary preferences or an empty pantry.
- Clear Guidance: Receive straightforward, easy-to-follow steps.
Build your confidence in the kitchen with Recipe-GPT. We make your baking journey smooth, helping you create the perfect loaf.
No Complicated Steps, Just Delicious Results
Many yeast bread recipes seem complex, but this one is different. We stripped away the fuss to give you a basic bread recipe that truly works.
You won’t find endless kneading or tricky techniques here. Instead, this recipe focuses on simple actions and common ingredients to ensure success, even on your first try.
- Minimal Ingredients: You only need a few pantry staples, saving you time and money.
- Straightforward Process: Each step is clear and concise, with no hidden complexities.
- Less Hands-On Time: The recipe uses natural resting periods effectively.
- Guaranteed Success: Follow these steps for a beautiful, tasty loaf every time.
This easy white bread recipe delivers amazing results without the stress. You’ll be making incredible-tasting bread in no time. Say hello to the fresh, warm loaf from your own kitchen!
What do you need to make bread for beginners?

The Core Ingredients
Making delicious homemade bread is simpler than you think, requiring only a few basic items. Recipe-GPT helps you quickly check if you have everything on hand and can even suggest smart substitutions if your pantry is missing something!
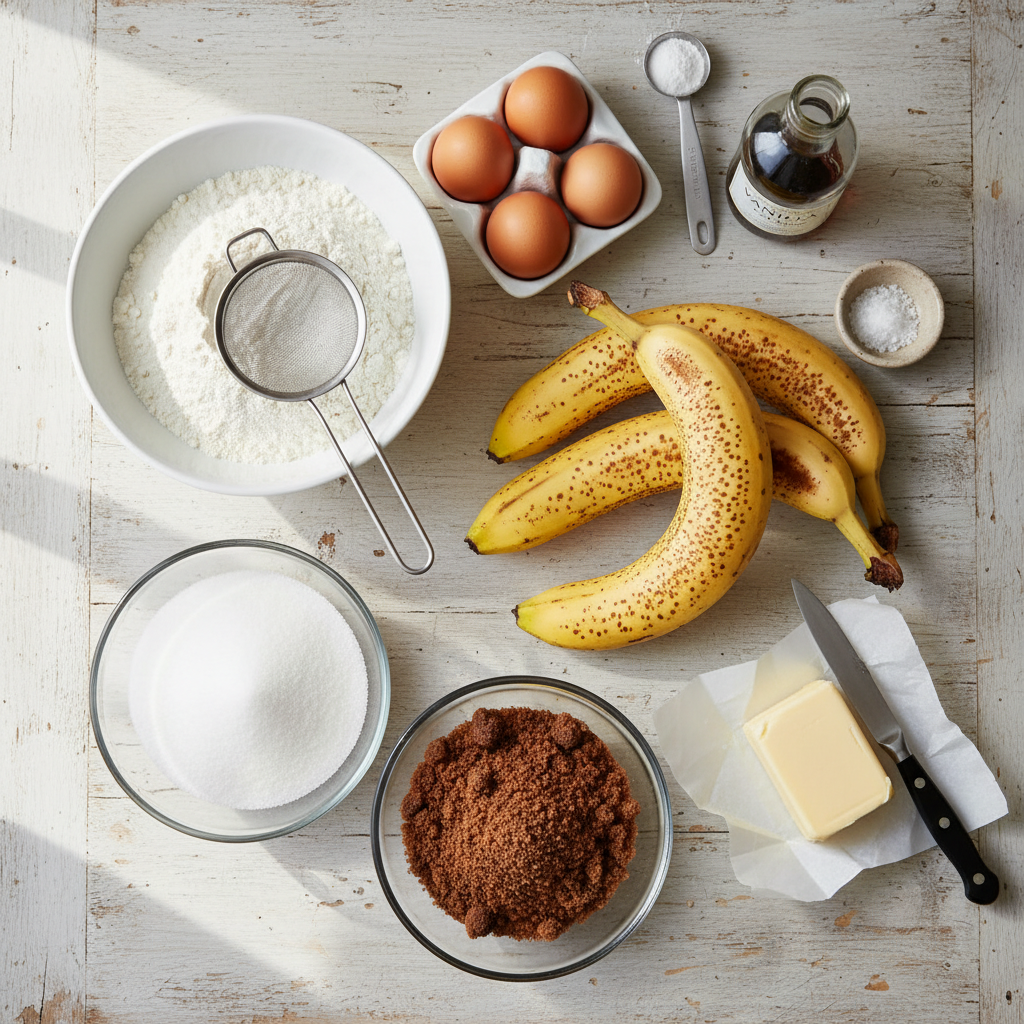
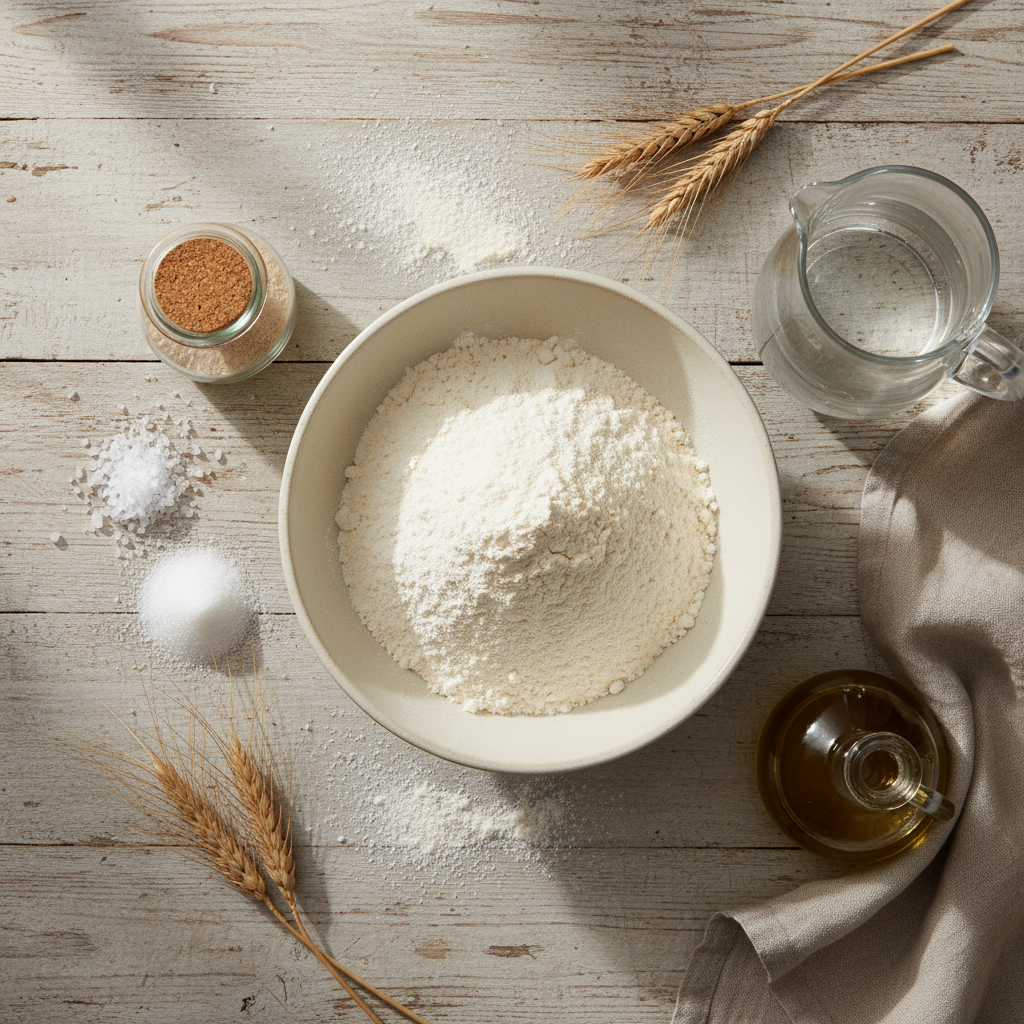
For your easy bread recipe, gather these core ingredients:
- All-Purpose Flour: This is the backbone of your bread, providing essential structure. While bread flour is often preferred for a chewier texture, all-purpose flour is great for beginners because it’s readily available and makes a lovely, soft loaf.
- Active Dry Yeast: Yeast is the magical ingredient that makes your bread rise. For the best results, ensure your yeast is fresh—always check the expiration date! [1]
- Warm Water: Water activates the yeast and helps form the dough. Aim for a temperature between 105-115°F (40-46°C), which should feel warm to the touch, but not hot.
- Salt: More than just a flavor enhancer, salt also controls yeast activity and strengthens the dough’s structure. Don’t skip it!
- A Touch of Sugar (Optional but Recommended): A small amount of sugar feeds the yeast, helping it become active faster. It also adds a subtle sweetness to your finished loaf.
Recipe-GPT can tailor your recipe in an instant. For example, it can adjust ingredient ratios for a whole wheat loaf or suggest ways to make your bread gluten-free or high-protein. This makes meal planning both easy and truly personalized.
Essential Kitchen Equipment
You don’t need a fancy kitchen to bake fantastic bread. This easy recipe uses minimal tools, and Recipe-GPT focuses on practical solutions that help you use what you already have.
Here’s what you’ll need:
- Large Mixing Bowl: You’ll combine your ingredients here, so choose one big enough for the dough to rise.
- Measuring Cups and Spoons: Accuracy matters in baking, so these are essential for using the correct amounts.
- Liquid Measuring Cup: For precise water measurements.
- Kitchen Scale (Optional but Recommended): For more consistent results, especially with flour. Weighing ingredients is often more accurate than measuring by volume.
- Whisk or Fork: To thoroughly mix dry ingredients.
- Rubber Spatula or Wooden Spoon: For mixing the dough.
- Plastic Wrap or a Clean Kitchen Towel: To cover the dough while it rises.
- 9×5-inch Loaf Pan: This gives your bread its classic shape. A light-colored metal pan is ideal for even baking.
- Oven Mitts: For safely handling hot pans.
- Wire Cooling Rack: Essential for cooling your bread and preventing a soggy bottom.
Recipe-GPT always provides clear, step-by-step guidance, helping you confidently use these tools. It transforms mealtime indecision into an enjoyable baking experience, so you can discover how easy it is to make delicious homemade bread with intuitive AI guidance.
Step-by-Step Easy Homemade Bread Recipe

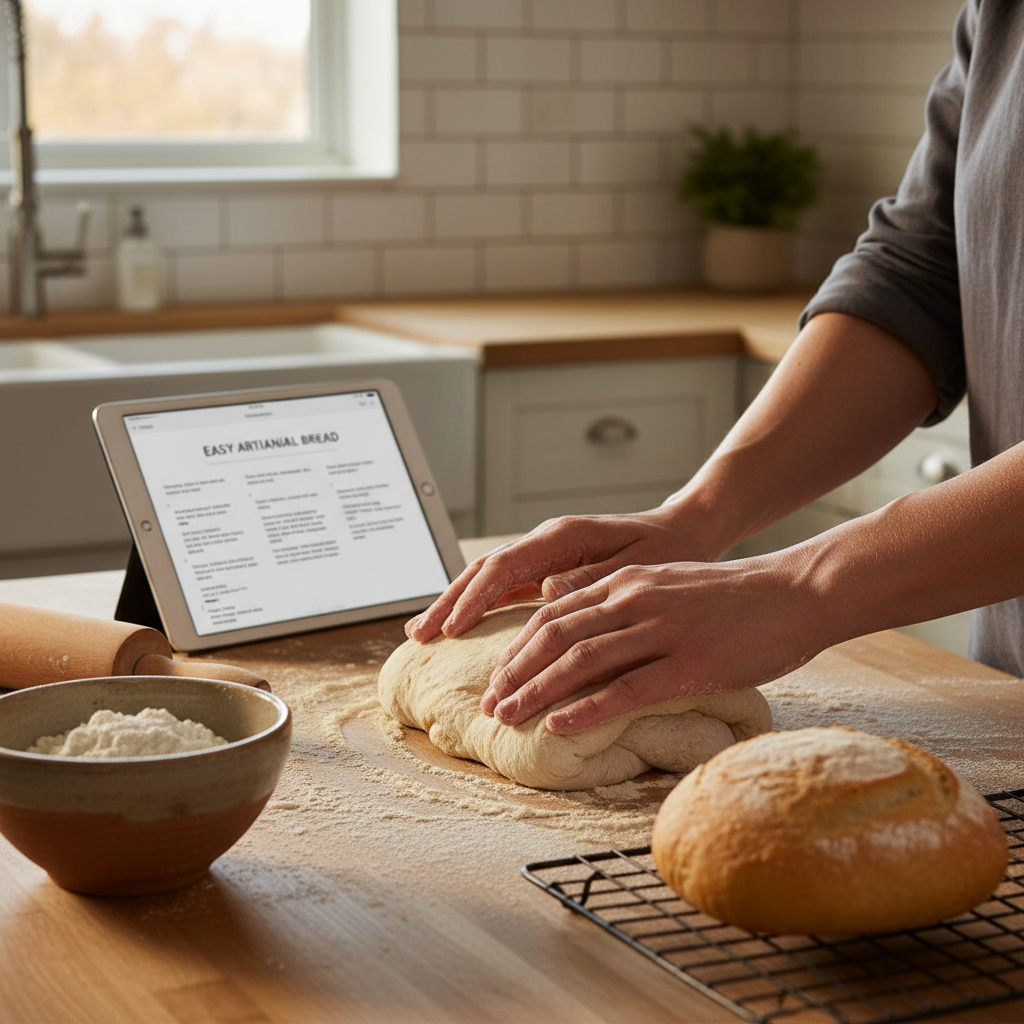
Ready to bake? This easy homemade bread recipe will guide you, step by step. You’ll create a delicious loaf—even if you’re a first-time baker. Recipe-GPT makes the process simple, providing clear, AI-powered instructions for perfect results.
Step 1: Activate the Yeast
This initial step is crucial—it ensures your yeast is alive and ready to work its magic. Active yeast helps your bread rise beautifully and creates that wonderful, fluffy texture.
- Pour warm water into a large bowl. The water should feel like a warm bath (around 105-115°F or 40-46°C).
- Stir in the sugar to provide food for the yeast.
- Sprinkle the active dry yeast over the water. Don’t stir it in immediately.
- Wait 5-10 minutes for the mixture to become foamy and bubbly. This is how you know your yeast is active!
- If it doesn’t foam, your yeast might be old, or the water was too hot or cold. Simply start this step again. Recipe-GPT always suggests the right yeast amounts for your personalized recipe.
Step 2: Mix the Dough
Now it’s time to bring your ingredients together. This is where the dough truly begins to form. Our AI ensures balanced proportions for the best consistency.
- Add the salt and half of the flour to the foamy yeast mixture.
- Stir with a sturdy spoon or spatula until just combined.
- Gradually add the remaining flour, about half a cup at a time.
- Continue mixing until the dough becomes shaggy and pulls away from the sides of the bowl.
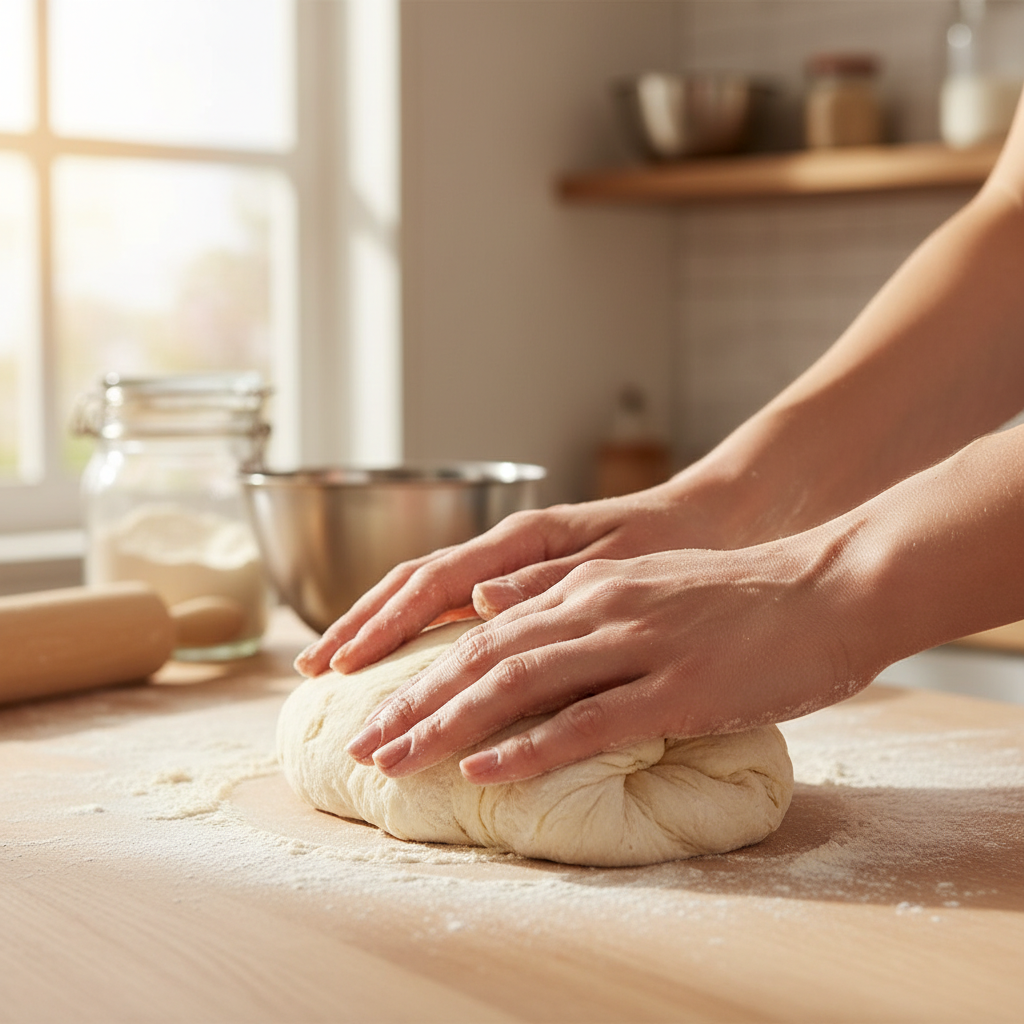
- Turn the dough out onto a lightly floured surface.
- Knead the dough for 5-7 minutes. Push it away from you, fold it over, and repeat until the dough is smooth and elastic. For beginners, our AI can even suggest tips for different kneading variations.
Step 3: First Rise (Proofing)
This rise is essential for developing flavor and texture. During this step, the yeast creates air pockets that make your bread light and airy.
- Lightly grease a large bowl with a little oil.
- Place the kneaded dough into the bowl, turning it once to coat it with oil.
- Cover the bowl tightly with plastic wrap or a clean kitchen towel.
- Put the bowl in a warm, draft-free place, like a slightly warm oven that has been turned off.
- Let the dough rise for 1 to 1.5 hours, or until it has doubled in size.
- To check if it’s ready, gently poke the dough with two fingers. If the indentations remain, it’s time for the next step. Recipe-GPT can adjust rise times based on different temperatures or flour types.
Step 4: Shape the Loaf
Shaping transforms your risen dough into a beautiful loaf. This step is easier than you might think and is key to creating that classic bread shape.
- Gently punch down the dough to release the air.
- Turn the dough out onto a lightly floured surface.
- Flatten the dough into a rectangle.
- Fold the top third down to the center, then fold the bottom third up over the center.
- Pinch the seam closed to create tension.
- Roll the dough into a log shape and pinch the ends to seal them.
- Place the shaped loaf, seam-side down, into a greased 9×5 inch loaf pan. If you want to make rolls or a baguette, Recipe-GPT can offer different shaping ideas when you customize your recipe.
Step 5: Second Rise
A second rise, often called the final proof, prepares your bread for baking. It ensures a light crumb and good oven spring.
- Cover the loaf pan loosely with plastic wrap or a kitchen towel.
- Return it to your warm, draft-free spot.
- Let it rise for another 30-45 minutes. The dough should rise above the rim of the pan and look noticeably puffed up.
- To check, gently poke the dough. If the indentation springs back slowly, it’s ready to bake. Our AI calculates the most accurate second rise time based on your specific recipe.
Step 6: Bake Your Bread
The moment of truth! Baking transforms your dough into golden-brown perfection, and your kitchen will smell amazing.
- Preheat your oven to 375°F (190°C).
- Carefully place the loaf pan into the preheated oven.
- Bake for 30-35 minutes, until the crust is golden brown.
- To check for doneness, remove the loaf from the pan and tap the bottom. It should sound hollow. You can also use an instant-read thermometer to check for an internal temperature of 200-210°F (93-99°C) [2].
- Once baked, transfer the bread to a wire rack to cool completely before slicing. This prevents a gummy texture.
- Recipe-GPT provides precise baking times for any recipe you generate, helping to ensure a perfect loaf every time.
Pro Tips for a Perfect Loaf

How to Get a Crispy Crust (Without a Dutch Oven)
Achieving that delightful, crispy crust is simpler than you think, and you don’t need special equipment like a Dutch oven. Instead, use a smart trick to create steam in your oven, which helps the crust develop a beautiful color and texture.
- Add a Water Pan: Place a shallow, oven-safe pan on the bottom rack of your oven as it preheats. Just before putting the bread in, fill the pan with about 1 cup of hot water. The resulting steam keeps the crust soft initially, allowing the bread to expand fully before it bakes to a lovely crispness [3].
- Preheat Your Baking Surface: Place your baking sheet or stone in the oven as it preheats. A hot surface gives the loaf an immediate burst of heat from the bottom, helping it develop a crisp bottom crust.
Remember, Recipe-GPT can offer personalized tips. Simply ask for suggestions to enhance your bread’s crust, and it might provide slight temperature adjustments or timing variations.
Checking for Doneness
Knowing exactly when your homemade bread is ready is crucial. An underbaked loaf can be dense, while an overbaked one might be dry. Use these simple checks for perfect results every time.
- Tap the Bottom: Gently remove the loaf from the oven, flip it over, and tap the bottom with your knuckles. A perfectly baked loaf will sound hollow—a classic test used by many bakers.
- Check Internal Temperature: For the most accurate result, use an instant-read thermometer. Insert it into the center of the loaf. Most lean bread, like this easy white bread recipe, is fully baked when its internal temperature reaches 200-210°F (93-99°C) [4]. This method ensures the crumb is cooked through.
Recipe-GPT can guide you through these steps, providing clear, actionable instructions to remove any guesswork from your baking experience.
Storing Your Homemade Bread
You’ve baked a wonderful loaf—now, how do you keep it fresh? Proper storage helps maintain its texture and flavor. Follow these simple guidelines.
- Cool Completely: This is the most important step. Always let your bread cool completely on a wire rack before storing it. Warm bread traps steam, which leads to a gummy texture and faster spoilage.
- Room Temperature Storage: For enjoying within a few days, store your bread at room temperature.
- Bread Box: A bread box allows for some airflow, which helps prevent sogginess while keeping the crust firm.
- Plastic Bag or Airtight Container: For a softer crust, place the cooled loaf in a sealed plastic bag or an airtight container. This method traps moisture.
- Freezing for Long-Term: To extend freshness for weeks, freeze your bread.
- Slice the cooled loaf first.
- Place the slices in a freezer-safe bag, removing as much air as possible.
- Frozen bread stays fresh for up to three months [5]. You can toast individual slices directly from the freezer as needed.
Need ideas for using leftover bread? Recipe-GPT can generate quick recipes for croutons, bread pudding, or even savory panzanella, helping you reduce food waste easily.
Can I make bread with just plain flour?
Bread Flour vs. All-Purpose Flour
Wondering if you truly need special bread flour for homemade loaves? The good news is that you can absolutely make great bread with plain all-purpose flour.
The main difference between bread flour and all-purpose flour is their protein content. Bread flour has a higher protein level, typically around 12-14% [6]. This higher protein content is important because it creates more gluten when mixed with water.
Gluten is what gives bread its structure and chewy texture. In contrast, all-purpose flour usually has 10-12% protein. While this is slightly less, it’s still more than enough to create a delicious loaf.
Because of this, bread made with all-purpose flour might be a little less chewy or rise slightly less tall. However, you will still get a wonderful, soft, and satisfying homemade loaf. Don’t let the type of flour stop you from baking!
Adjusting for Best Results
When using all-purpose flour in your bread recipe, a few simple tweaks can help you achieve excellent results. Recipe-GPT can easily guide you through these adjustments to ensure your baking journey is smooth and successful.
Here are some practical tips to make the most of your plain flour:
- Slightly Less Water: All-purpose flour absorbs a bit less water than bread flour. Start with slightly less liquid than the recipe calls for, then add more slowly if your dough feels too dry.
- Longer Kneading: To develop that essential gluten, you might need to knead your dough for a couple of extra minutes. This builds strength, resulting in a better texture.
- Gentle Handling: All-purpose flour dough can be a little more delicate. Handle it gently during shaping to avoid deflating it.
- Ask Recipe-GPT for Help: If you’re unsure about specific adjustments, simply tell Recipe-GPT you’re using all-purpose flour. Our AI will instantly provide tailored advice on hydration levels or kneading times for your chosen recipe.
- Consider Vital Wheat Gluten (Optional): For an extra boost, you can add a teaspoon or two of vital wheat gluten per cup of all-purpose flour. This increases the protein content, mimicking bread flour. Recipe-GPT can suggest the perfect amount if you have it on hand.
With these simple adjustments and a little help from Recipe-GPT, you can confidently bake fantastic homemade bread using basic plain flour. Get ready for a delicious, easy, and personalized baking experience!
Customize Your Bread with AI-Powered Variations
Adding Herbs and Spices
Transform your basic loaf into something special. Aromatic herbs and warming spices can elevate your bread, and Recipe-GPT makes this easy for you.
Simply tell our AI what flavors you enjoy, whether you prefer savory notes or a touch of sweetness. Recipe-GPT quickly suggests the perfect additions and guides you on quantities, ensuring your loaf is balanced and delicious.
Here are some popular ideas to get you started:
- For a Savory Twist:
- Rosemary and garlic powder
- Dried oregano and basil
- Everything bagel seasoning (mix into dough or sprinkle on top)
- Chives and a pinch of black pepper
- For a Sweet Touch:
- Cinnamon and a hint of nutmeg
- Orange zest or lemon zest
- Cardamom powder for a unique flavor
Just add your chosen herbs or spices when you mix the dry ingredients. This simple step adds so much character to your homemade bread and is an easy way to explore new flavors with AI guidance.
Making a Simple Whole Wheat Version
Want to add a nutritious boost to your bread? Swapping some white flour for whole wheat is a great option. Whole wheat flour contains more fiber and essential nutrients than refined white flour [7].
Our AI can help you adjust the classic recipe. Since whole wheat flour absorbs more liquid, you might need a bit more water for a good dough consistency. Recipe-GPT provides personalized ratios to help you create a delicious loaf every time.
Here’s how to make a simple whole wheat variation:
- Substitute Flour: Start by replacing 1 cup of all-purpose flour with whole wheat flour. Keep the remaining flour as all-purpose for a softer texture.
- Adjust Water: Add 1-2 tablespoons more water as you mix, until the dough feels right. It should be slightly sticky but still manageable.
- Knead Gently: Whole wheat dough can be a bit stiffer, so knead it thoroughly but gently.
- AI Guidance: If you’re unsure, just ask Recipe-GPT. It provides precise measurements and offers tips for handling whole wheat dough.
This simple swap gives you a heartier, more flavorful loaf that’s perfect for sandwiches or toast. Enjoy a nutritious twist on your easy homemade bread.
Ingredient Substitution Ideas from Recipe-GPT
Running low on an ingredient or have specific dietary needs? Recipe-GPT is your clever kitchen assistant, offering instant substitution ideas. This means you can still make delicious homemade bread, no matter what you have on hand.
Our AI provides practical solutions to ensure your bread turns out great, so you won’t need to stress over missing items. Simply tell Recipe-GPT what you have, and it will suggest smart swaps.
Here are some common substitutions our AI can help with:
- Flour Alternatives:
- Need gluten-free bread? Recipe-GPT can suggest suitable flour blends.
- Out of all-purpose? It might recommend a mix of bread flour and cake flour.
- Dairy-Free Options:
- If your recipe uses milk, the AI can suggest plant-based alternatives like almond or soy milk.
- Sweetener Swaps:
- No granulated sugar? Recipe-GPT can suggest honey, maple syrup, or brown sugar and will adjust liquid content as needed.
- Fat Substitutions:
- Instead of butter, you might use olive oil or another plant-based oil. Our AI provides the correct amounts.
- Dietary Adjustments:
- Looking for a lower-carb or vegan version? Recipe-GPT customizes recipes to fit your dietary preferences.
Recipe-GPT transforms mealtime challenges into simple solutions, helping you make perfect homemade bread. Enjoy tailored recipes generated in seconds, right when you need them.
Frequently Asked Questions
What are the 4 ingredients in bread?
Making bread can be incredibly simple. In fact, most basic recipes rely on just four core ingredients. These are essential for creating delicious homemade loaves.
- Flour: This forms the main structure of your bread.
- Water: It hydrates the flour and activates the yeast.
- Yeast: This tiny microorganism makes the bread rise. It creates gases that cause the dough to expand.
- Salt: Salt adds flavor, controls yeast activity, and strengthens the gluten structure.
Recipe-GPT takes these fundamental ingredients and suggests endless variations. You can easily discover new flavors with what you have on hand. For example, the AI can propose adding cheese, herbs, or different flours for a personalized twist.
What’s the best flour for homemade bread?
For truly excellent homemade bread, bread flour is your best choice. It has a higher protein content [8], which means more gluten can develop. This process creates a chewier texture and a better rise.
However, don’t worry if you only have all-purpose flour. It also works wonderfully for many easy bread recipes, including this one. All-purpose flour yields a soft, tender loaf, making it a great starting point for new bakers.
Recipe-GPT helps you navigate flour choices. It can suggest substitutions based on your pantry and even tailor recipes for specific dietary needs, like gluten-free options. This makes cooking more accessible and stress-free.
How to make homemade bread light and fluffy?
Achieving a light, fluffy homemade loaf is very rewarding. Several key factors create this texture. First, proper yeast activation is crucial. Make sure your water is the correct temperature for the yeast to thrive.
Next, adequate kneading develops the gluten. Gluten creates an elastic network in the dough that traps the gases produced by the yeast. As a result, the bread rises beautifully and develops an airy structure.
Additionally, allowing sufficient rising time (proofing) is vital. This gives the yeast time to work its magic. Finally, avoid over-baking your bread, as an over-baked loaf can become dry and dense.
Recipe-GPT provides clear, step-by-step instructions. Our AI guidance ensures you follow each stage correctly, helping you achieve that perfect light and fluffy texture every time. You’ll get reliable results and gain cooking confidence.
What are the steps for making bread?
Making bread involves a few straightforward stages. Our easy recipe breaks down the process for beginners, and Recipe-GPT simplifies it even further with concise, AI-generated guidance.
Here are the basic steps for making homemade bread:
- Activate the Yeast: Combine warm water, yeast, and a touch of sugar. Let it sit until bubbly. This confirms your yeast is active and ready.
- Mix the Dough: Combine the activated yeast mixture with flour and salt. Mix until a shaggy dough forms.
- First Rise (Proofing): Knead the dough, then let it rest in a warm place until it doubles in size.
- Shape the Loaf: Gently punch down the risen dough and shape it into your desired loaf form.
- Second Rise: Let the shaped loaf rise again, usually in a loaf pan. This ensures a light final texture.
- Bake Your Bread: Bake the loaf in a preheated oven until golden brown. It’s done when it sounds hollow when tapped on the bottom.
Recipe-GPT makes these steps even simpler. The AI delivers intuitive, actionable guidance, so you can move from ingredients to a fresh loaf with ease. Enjoy quick, practical meal inspiration for delicious results.
Sources
- https://redstaryeast.com/yeast-baking-lessons/yeast-types-usage/active-dry-yeast/
- https://www.kingarthurbaking.com/blog/2016/06/20/internal-temperature-bread
- https://www.kingarthurbaking.com/blog/2019/07/23/baking-with-steam
- https://www.thermofisher.com/blog/food/what-is-the-best-temperature-to-cook-bread/
- https://food.unl.edu/food-storage-chart-quick-tips
- https://www.purdue.edu/fnr/extension/all-purpose-flour-vs-bread-flour/
- https://wholegrainscouncil.org/health-benefits
- https://www.thespruceeats.com/types-of-flour-for-baking-4767258